Phase 1: Planning and Preparation (Semester 1)
- Problem Identification and Objectives:
- Identify the problem (e.g., water wastage in agriculture) and define project goals.
- Research the advantages of using IoT for smart irrigation.
- Set objectives like real-time monitoring of soil conditions, automated irrigation, and water usage optimization.
- Literature Review:
- Study similar IoT-based smart irrigation systems.
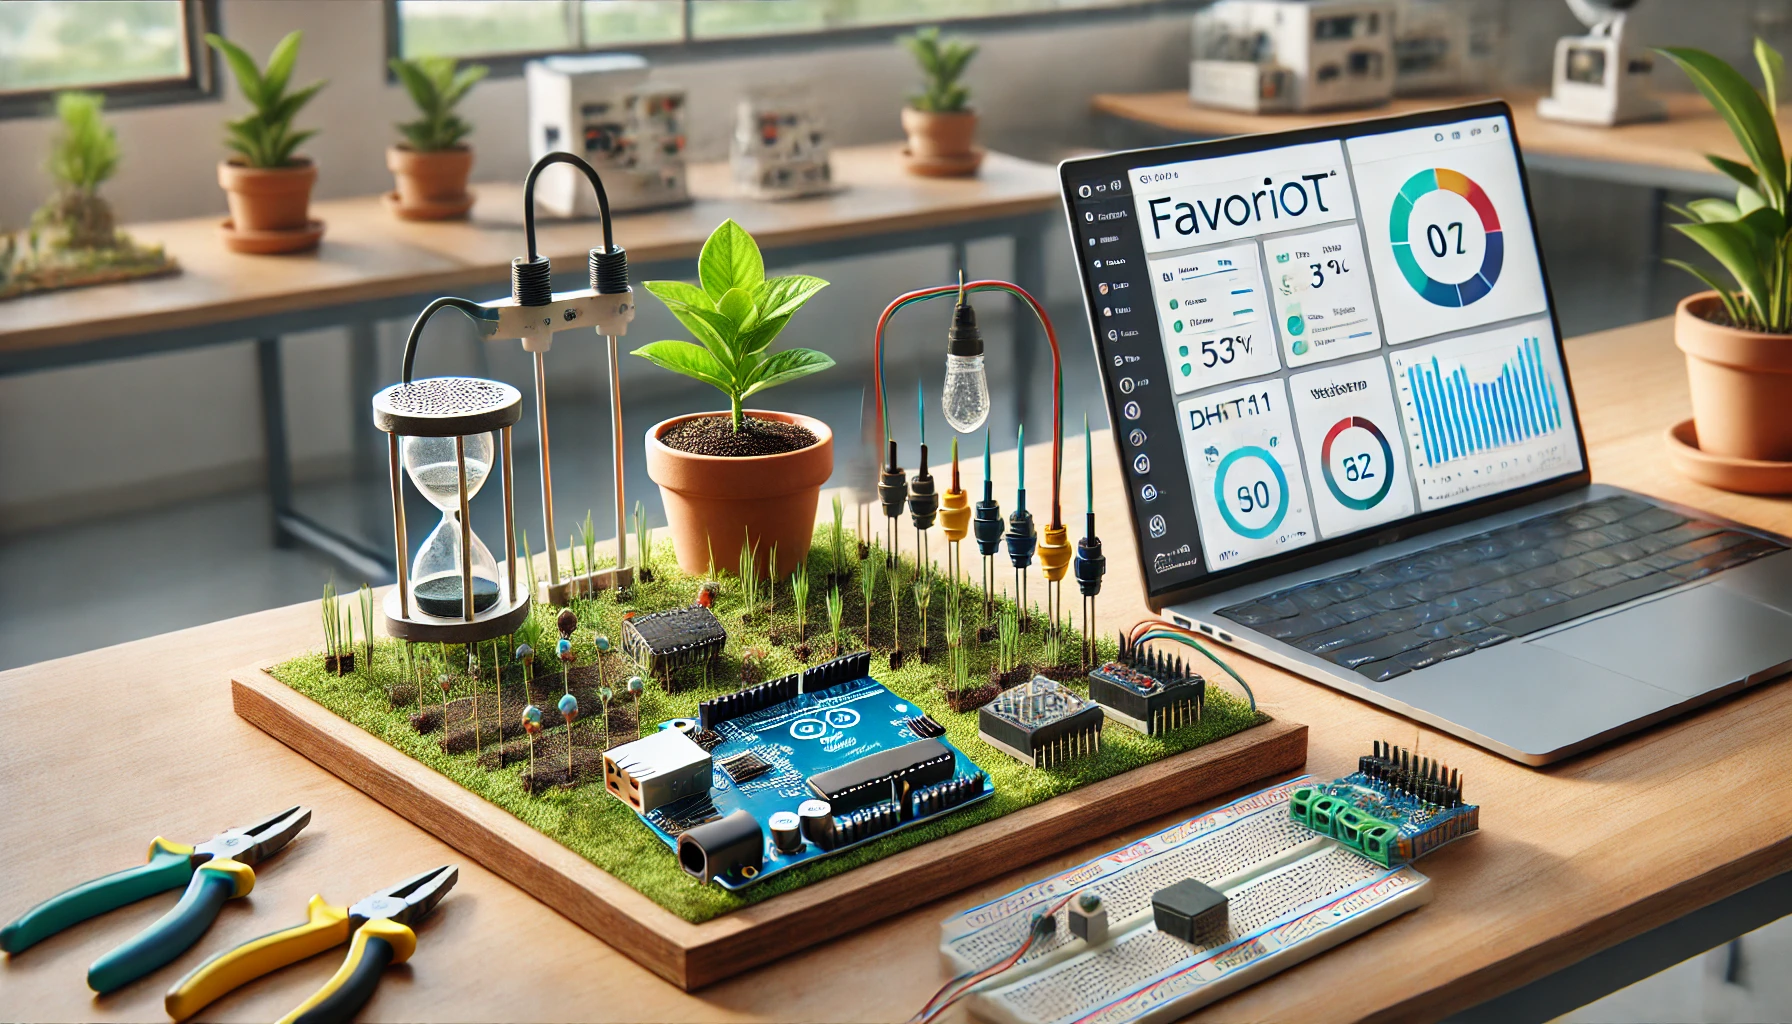
- Understand the features of the Favoriot platform and how it can be integrated.
- System Design:
- Design the system architecture:
- Sensors → Microcontroller → Favoriot → User Dashboard/Notifications.
- Plan sensor placements and the system’s data flow.
- Design the system architecture:
- Component Selection:
- Hardware:
- Soil moisture sensor (e.g., YL-69 or capacitive soil moisture sensor).
- Temperature and humidity sensor (e.g., DHT11 or DHT22).
- Optional: Water flow sensor (e.g., YF-S201).
- Microcontroller: NodeMCU (ESP8266) or ESP32 for Wi-Fi.
- 5V relay module to control water pump or solenoid valve.
- Water pump or solenoid valve.
- Power supply: 5V/12V adapter or battery.
- Additional components: Jumper wires, breadboard, or PCB, and a plastic enclosure.
- IoT Platform:
- Subscribe to the Favoriot platform (MYR 15/month or MYR 100/year for student plans).
- Hardware:
- Budget Estimation:
- Create a detailed budget, including hardware, software, and platform subscription costs.
- Proposal Submission:
- Write and submit a project proposal, detailing the problem, objectives, system design, and budget.
Phase 2: Development and Testing (Semester 2)
- Hardware Assembly:
- Connect soil moisture and DHT11 sensors to the microcontroller.
- Wire the relay to the water pump or solenoid valve.
- Secure all components in a weatherproof enclosure.
- Software Development:
- Program the microcontroller using Arduino IDE:
- Read data from sensors.
- Send data to the Favoriot platform using its REST API.
- Receive commands for controlling the pump or valve.
- Test the code in a simulated environment before deployment.
- Program the microcontroller using Arduino IDE:
- Integration with Favoriot:
- Create a Favoriot account and set up the project.
- Configure data streams to collect and visualize sensor data (e.g., soil moisture, temperature).
- Build a dashboard for real-time monitoring and remote control.
- Testing:
- Perform individual tests for sensors, connectivity, and actuators.
- Test data transmission to the Favoriot platform.
- Simulate irrigation automation and manual override scenarios.
- Field Deployment:
- Install the system in a small plot or garden.
- Monitor performance over a trial period.
- Analysis and Optimization:
- Analyze data collected via Favoriot (e.g., water usage, soil moisture trends).
- Adjust sensor placements or system parameters based on observations.
- Final Report and Presentation:
- Document the project, including system design, challenges, and results.
- Prepare a presentation and demonstrate the smart irrigation system.
Estimated Costs for Materials
| Item | Cost (MYR) | Quantity | Total (MYR) |
|---|---|---|---|
| NodeMCU (ESP8266) / ESP32 | 25–50 | 1 | 25–50 |
| Soil Moisture Sensor | 8–15 | 2 | 16–30 |
| DHT11/DHT22 Sensor | 10–25 | 1 | 10–25 |
| Water Flow Sensor (optional) | 25–40 | 1 | 25–40 |
| 5V Relay Module | 8–15 | 1 | 8–15 |
| Water Pump or Solenoid Valve | 20–50 | 1 | 20–50 |
| Jumper Wires and Breadboard | 10–20 | 1 set | 10–20 |
| Power Supply (5V/12V Adapter) | 15–25 | 1 | 15–25 |
| Enclosure (Plastic Box) | 20–30 | 1 | 20–30 |
| Miscellaneous (PCB, screws, etc.) | 20–30 | 1 set | 20–30 |
| Favoriot Subscription | 15/month or 100/year | 2 months or 1 year | 30 or 100 |
Total Estimated Cost:
- Without Optional Components (2 months Favoriot plan): ~MYR 190–280.
- With Optional Components (1-year Favoriot plan): ~MYR 300–450.
This project provides hands-on experience in IoT development and demonstrates the practical application of the Favoriot platform for real-world problems like water management in agriculture.


Leave a Reply