![[Tutorial] : Smart Temperature Monitoring in Cold Transportation Using Favoriot](https://iotworld.co/wp-content/uploads/2025/03/ChatGPT-Image-Mar-26-2025-12_47_26-PM.png)
Project Objective:
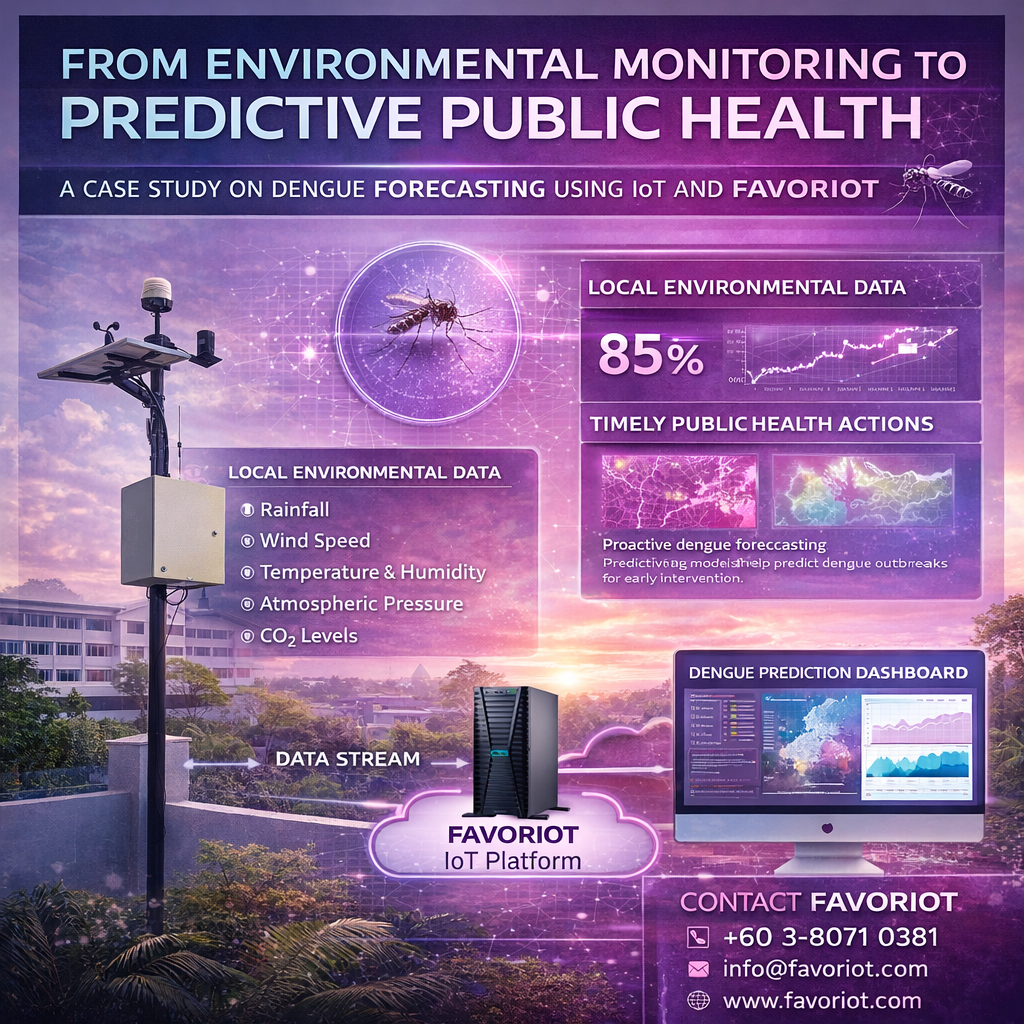
“Using IoT for Temperature Monitoring in Cold Transportation”
- To monitor the temperature inside delivery trucks in real-time.
- To store temperature data in the cloud for analysis and records.
- To send alerts when temperature exceeds or falls below the defined threshold.
- To ensure the integrity of temperature-sensitive products like vaccines or frozen foods.
Required Components:
| Hardware | Function |
|---|---|
| ESP32 / NodeMCU (WiFi-enabled) | Microcontroller + internet connectivity |
| DS18B20 / DHT22 Temperature Sensor | Measures the temperature inside the truck |
| GPS Module (optional) | Sends truck location if needed |
| Power Bank / 5V Power Supply | Provides power to the system |
| SIM800L (optional – GSM) | Alternative to WiFi for data sending via GSM |
| Software | Function |
|---|---|
| Arduino IDE | To write and upload code to the ESP32 |
| Favoriot Platform | Cloud platform to receive and display IoT data |
Step 1: Register and Configure the FAVORIOT Platform
- Sign up at: https://platform.favoriot.com/
- Create a new device and copy the
Device Developer IDandAPI Key. - Set the data format like this:
{
  "device_developer_id": "suhu_trak_01",
  "data": {
    "temperature": 5.6
  }
}
Step 2: Connect the Hardware
Wiring DS18B20 (example sensor):
- GND to ESP32 GND
- VCC to 3.3V on ESP32
- Data to GPIO pin (e.g., D4) with 4.7kΩ pull-up resistor between VCC and Data
Step 3: Arduino Code to Send Data to FAVORIOT
#include <WiFi.h>
#include <HTTPClient.h>
#include <OneWire.h>
#include <DallasTemperature.h>

// WiFi Credentials
const char* ssid = "YOUR_WIFI_NAME";
const char* password = "YOUR_WIFI_PASSWORD";

// Favoriot Config
String device_developer_id = "suhu_trak_01";
String apiKey = "YOUR_API_KEY";

// Sensor Setup
#define ONE_WIRE_BUS 4 // Pin D4
OneWire oneWire(ONE_WIRE_BUS);
DallasTemperature sensors(&oneWire);

void setup() {
  Serial.begin(115200);
  WiFi.begin(ssid, password);

  Serial.print("Connecting to WiFi");
  while (WiFi.status() != WL_CONNECTED) {
    delay(1000);
    Serial.print(".");
  }
  Serial.println("\nWiFi connected!");

  sensors.begin();
}

void loop() {
  sensors.requestTemperatures();
  float tempC = sensors.getTempCByIndex(0);
  Serial.print("Temperature: ");
  Serial.println(tempC);

  if (WiFi.status() == WL_CONNECTED) {
    HTTPClient http;

    String serverPath = "https://apiv2.favoriot.com/v2/streams";

    http.begin(serverPath);
    http.addHeader("Content-Type", "application/json");
    http.addHeader("apikey", apiKey);

    String httpRequestData = "{\"device_developer_id\":\"" + device_developer_id + "\",\"data\":{\"temperature\":" + String(tempC) + "}}";

    int httpResponseCode = http.POST(httpRequestData);

    Serial.print("Response code: ");
    Serial.println(httpResponseCode);

    http.end();
  }

  delay(10000); // send every 10 seconds
}
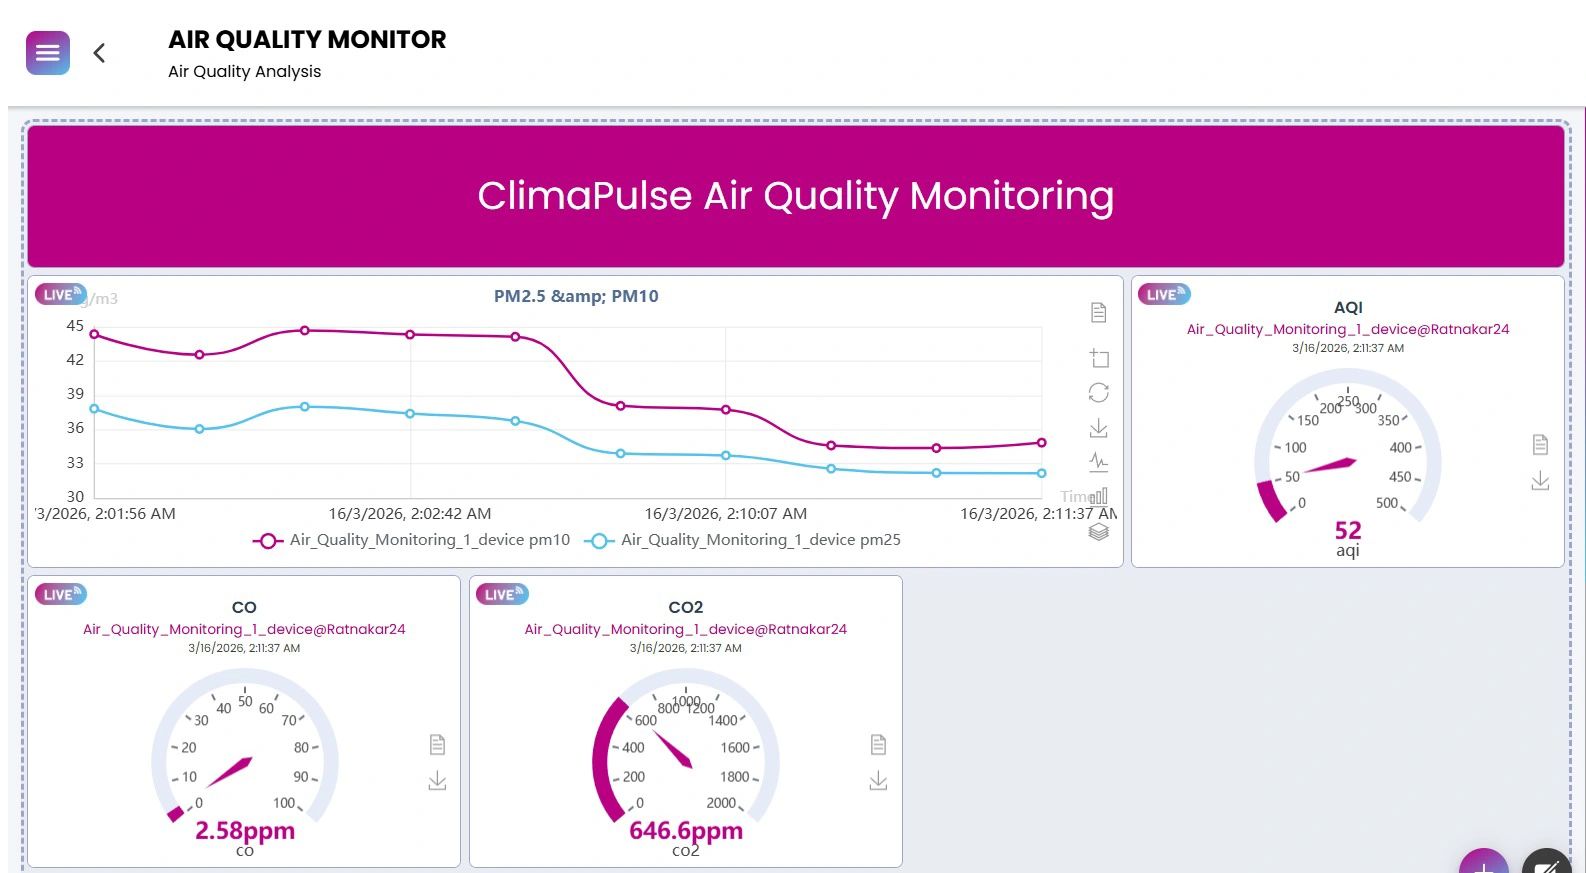
Step 4: Monitor on FAVORIOT Dashboard
- Log in to the Favoriot Dashboard.
- Select the device you’ve created.
- You can view the live temperature graph.
- Use Rules/Alerts feature to:
- Send email/Telegram/Slack alerts when temperature is out of range.
- Store temperature logs for auditing and analysis.
Optional Enhancements:
- Add GPS NEO-6M module and modify JSON data to include
latitudeandlongitude. - Add a buzzer or LED for local alerting when temperature is out of range.
- Use a power relay to turn on cooling fan automatically when temperature rises.
Project Value-Add:
- Complies with cold-chain standards for pharmaceuticals & food delivery.
- Can be integrated with Google Maps to track critical temperature zones.
- Favoriot platform supports long-term data storage and analytics.
References
- Favoriot Platform Registration (FREE and Paid)
- Favoriot Full Documentation (Official)
- Favoriot Github
- How-To Use Favoriot Platform Video Playlist
Disclaimer
This article provides a step-by-step guide but is intended only as a guideline. The source code may need adjustments to fit the final project design.


![[Project Challenge #15] Smart Shopping Behaviour Analytics Using the Favoriot Insight Framework (FIF)](https://iotworld.co/wp-content/uploads/2026/03/Project-Challenge-15-Decoding-Precinct-Shopping-Movement-Patterns.png)
Leave a Reply